

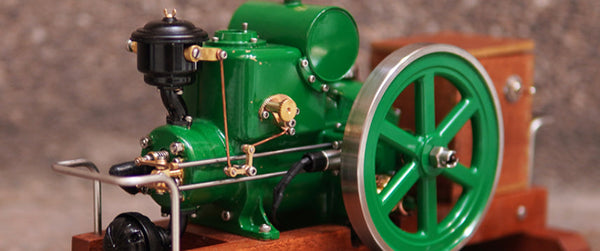
Le mini-moteur bicylindre quatre temps VORTRIXE & TOYAN FSL200 est un petit moteur incroyablement amusant. Non seulement il vous permet de découvrir le processus d'assemblage, mais vous pouvez aussi le transformer en de nombreux projets passionnants, comme des voitures et des bateaux radiocommandés. Le plus étonnant ? Ce minuscule moteur peut atteindre une vitesse maximale de 14 000 tr/min ! Alors, à vos marques, prêts, assemblez-le !

Étape 1
Retirez la bielle du vilebrequin et installez le volant moteur principal et le volant moteur du démarreur sur le vilebrequin.

Étape 2
Retirez les segments de piston et installez-les sur le piston. Cette opération requiert une certaine technique : poussez lentement le segment le long de sa gorge, d'une extrémité à l'autre. Une fois en place, utilisez l'outil fourni pour installer les pistons avec leurs segments dans chaque cylindre. Veillez à bien remettre les segments dans leurs cylindres respectifs et à ne pas les mélanger. Vérifiez l'étanchéité.


Étape 3
Desserrez les deux bielles du vilebrequin et appliquez uniformément du lubrifiant sur chaque joint. Réinstallez les bielles. Deux remarques importantes lors de l'installation :
1. Les bielles comportent des marquages correspondants ; assurez-vous qu'elles sont alignées.
2. Serrez fermement les boulons de la bielle, de préférence avec du frein-filet. Un serrage insuffisant peut entraîner le détachement de la bielle à haute vitesse et endommager la bielle et le bloc-moteur.
Réinstallez ensuite le carter d'huile.


Étape 4
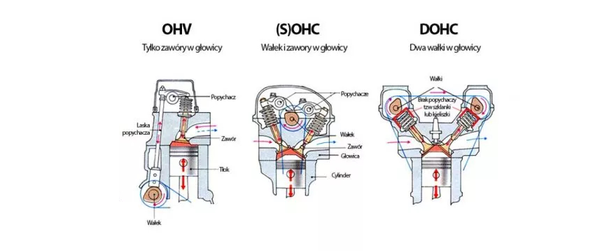
Déposez la culasse et l'arbre à cames. Après les avoir fixés, installez la culasse sur le cylindre. N'oubliez pas de placer le joint entre les deux : cette étape est cruciale !

Étape 5
Retirez les quatre culbuteurs, les deux supports de culbuteurs et les quatre cache-culbuteurs. Installez les quatre cache-culbuteurs sur les chambres de combustion, puis fixez les culbuteurs sur les cache-culbuteurs. Assurez-vous que la partie saillante des culbuteurs est en contact avec les cache-culbuteurs. Après l'installation, vérifiez que les cache-culbuteurs présentent un jeu vertical d'environ 2 mm ; ce jeu est optimal.

Étape 6
Retirez le support du corps de papillon, installez-le sur le moteur, puis fixez le corps de papillon sur le support.

Étape 7
Après avoir installé le ventilateur refroidi par air, fixez-le sur la courroie. Cette étape comporte une procédure cruciale : le calage. Pour ce faire : retirez la courroie du point de fixation sur le vilebrequin. Assurez-vous que la flèche sur le vilebrequin pointe directement vers le bas, en direction de la position 6 heures. Simultanément, la flèche sur la poulie de l'arbre à cames du papillon doit également pointer directement vers le bas, en direction de la position 6 heures !

Étape 8
Après avoir installé le démarreur, cette étape est relativement simple. Graissez les culbuteurs à l'intérieur du cache-culbuteurs, puis remontez la culasse. N'oubliez pas d'installer le joint entre la culasse et le bloc-cylindres ; cette étape est indispensable. Fixez la culasse à l'aide des boulons en croix.

Étape 9
Installez la tête de chauffe électrique (la version au nitrométhane utilise une tête de chauffe électrique, tandis que la version à essence utilise une bougie d'allumage). N'oubliez pas la rondelle située devant la bougie.

Étape 10
Ensuite, installez le fil d'allumage (nécessaire pour les versions au nitrométhane ; les versions essence peuvent ignorer cette étape). Ceci est indispensable pour fermer le circuit électrique et permettre le bon fonctionnement de la bougie de préchauffage.

Étape 11
Ensuite, installez le démarreur électrique ou le câble de bougie, fixez le réservoir de carburant, raccordez les conduites d'essence, ajoutez du carburant et branchez la source d'alimentation. Vous êtes maintenant prêt à démarrer ce mini moteur bicylindre quatre temps pour la première fois !

Testons son régime moteur : il a dépassé les 13 000 tr/min du premier coup ! Nous sommes impatients de découvrir d'autres projets de bricolage avec ce moteur. Il a besoin de plus de passionnés pour continuer à explorer son potentiel. Ajoutez dès maintenant la construction de ce kit de mini-moteur bicylindre à vos projets du week-end !

0 commentaire